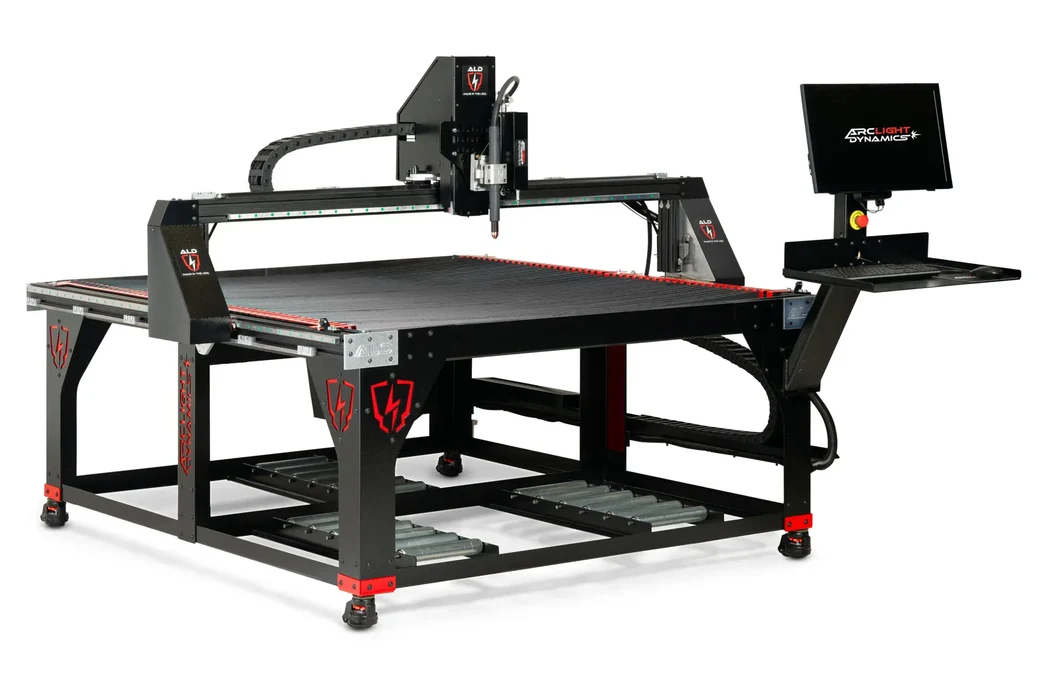
CAD/CAM for your ArcLight table
Use TableCAD to design and prepare parts for your ArcLight plasma table. TableCAD handles the drawing and cut planning; your ArcLight controller software loads the job and moves the machine.
ArcLight’s controller systems page lists ARC CNC for the Arc Pro Ultra and Arc Max Ultra, and Flashcut CNC for the Arc Pro Elite, Arc Max Elite and Arc Max Unlimited. Use your table’s controller documentation for its file-loading procedure, units and origin settings.
Draw your parts in TableCAD
Design the part at exact dimensions, choose inches or millimeters, and add holes and slots. Import an existing DXF or start a new drawing, then save a TableCAD project you can reopen for the next job.
TableCAD Ultimate includes file version control for your work files as your designs change.
Keep drawing and cut planning together in TableCAD. You can also export DXF when you need a geometry file for another project or your existing shop workflow.
What TableCAD plans for you
When you do use TableCAD’s cut planning, the same logic applies regardless of brand: holes cut before outlines, kerf compensation, clean side on the part, lead-ins that begin in scrap, spiral options, overcut, automatic slow-down for small holes. The simulation and live G-code view let you check the plan against the drawing.
Machine settings for table size, Z axis or THC, retract height and IHS springback are where a table’s hardware enters the plan. Pull the values from your ArcLight documentation rather than from memory.
Export and run the job on ArcLight
Export your job from TableCAD using the file format and settings required by your ArcLight controller. Load it in the controller software and preview the cut paths before running the table.
Check units, origin and machine settings as part of your normal preflight. Keep those settings with the project so the next job starts from the same setup.
Workflow map
Your TableCAD-to-ArcLight workflow
- Machine sideIdentify the controllerARC CNC or Flashcut CNC, per your model’s documentation.
- TableCAD · designDraw or import DXFExact dimensions, units, holes and slots.
- TableCAD · prepPlan cuts and simulateHoles first, kerf, lead-ins, preview.
- HandoffExport your jobUse the format and settings for your ArcLight controller.
- Machine sideLoad in controllerPreview in the control software before cutting.
Preflight before you cut
Confirm your machine and configuration, and keep the manufacturer’s manual open for the controller-specific steps.
- Use the file-loading procedure for your ArcLight controller.
- Export in the file format specified by your controller documentation.
- Match origin, units and machine settings to the controller.
- Preview the loaded program in the control software.
- Save your machine settings with the project for repeat jobs.
External sources
Official pages used for brand-specific facts in this guide:
TableCAD is independent software and is not affiliated with, endorsed by, or sponsored by Langmuir Systems, ArcLight, Torchmate / Lincoln Electric, STV, WAZER, Flow, OMAX, Laguna, Jet Edge, WARDJet, Techni Waterjet, or any other table or waterjet manufacturer referenced on this site. All manufacturer names, product names, trademarks and controller names belong to their respective owners and are used only to describe compatibility and workflow context.